192.168.1.1 Login
192.168.1.1 is a private IP address we regularly use this IP address to log in to the router, Most of the top companies use this IP address to configure the router. In this guide, I will explain how to configure your router, reset the router and get the maximum out of your router.
192.168.1.1 Login:
Open Your Web Browser:
You just need to click the first link in order to go to your router login page, if you know the router brand follow the default IP address.
- Login Credentials:
- A login page will appear, prompting you to enter the login username and password.
- Enter Your Details:
- Provide the correct username and password in the designated fields.
- Access the Admin Panel:
- Upon successful login, you’ll gain access to the router’s Admin Panel.
Note: If you encounter difficulties accessing the router’s admin panel at 192.168.1.1, you can try alternative IP addresses, such as 192.168.0.1 or 10.0.0.1.
Forgot IP Address, Username, and Password?
If you forget your IP address, username, or password, consider these steps:
- Check your router’s manual, box, or the back of the router for the default login information. Alternatively, you can refer to a list of default usernames and passwords.
- If you’ve changed your password and cannot recall it, perform a factory reset by locating a small hidden RESET button on the back of your router. Press and hold this button for 10-15 seconds using a paper clip or a needle. Your router will reboot, restoring it to default settings.
How to Change the Router’s IP Address:
Once you get the router login page, you will able to access the all settings
TP-Link: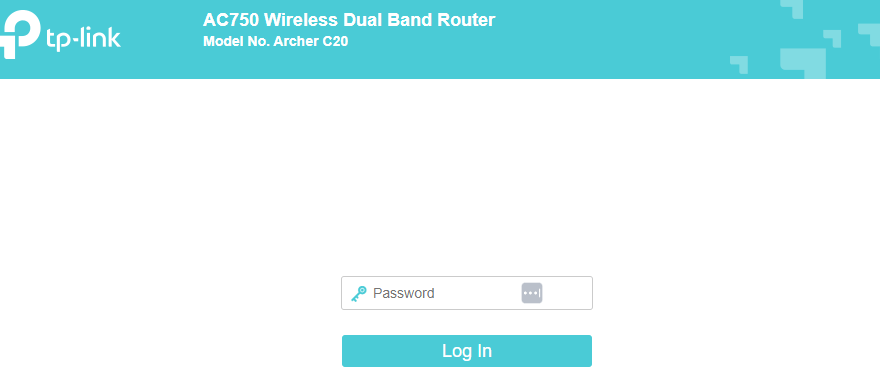
- Log in to the default admin panel at 192.168.0.1 or 192.168.1.1 using “admin/admin” as the username and password.
- Navigate to “Advanced settings” > “Network” > “LAN.”
- Under the “IP Address” field, change it to your desired address (e.g., 192.168.1.2).
- Save your changes, and the router will reboot to apply them.
D-Link:

- Access your router’s configuration page (use “admin” for both the username and password).
- Go to “Setup” > “Network Settings.”
- Locate the “Router IP Address” field.
- Modify the IP address as needed and save your settings.
NETGEAR:
- Log in to your NetGear router settings page via 192.168.1.1, 192.168.0.1, http://www.routerlogin.net, or http://www.routerlogin.com.
- Use the default username “admin” and password “password.”
- Navigate to “Advanced” > “Setup” > “LAN Setup.”
- Under “LAN TCP/IP Setup,” you will find the “IP Address” option. Change it to your preference.
- Apply the changes, and the router will reboot to update the settings.
In case something goes wrong during this process, you can reset your router to its factory default settings, reverting all customizations.
Tenda Wifi Router:
- Log in to your Tenda router settings page via 192.168.1.1, 192.168.0.1 or visit http://tendawifi.com
- Use the default password as a password.
- Go to Internet Settings > Choose Connection Mode
- Under the internet connection choose Connection type an d Change it to your preference.
- Click ok, And Check the status of the internet on the home page.
Protecting Your WiFi Network:
To safeguard your WiFi network, consider following these basic security measures:
- Enable WPA2 encryption for enhanced security.
- Set a strong and unique password.
- Disable WPS (Wi-Fi Protected Setup) for additional security, as it is an outdated method.
- Utilize MAC address filtering.
- Periodically update your router’s firmware to address potential vulnerabilities and improve security.
- use a virtual private network
Conclusion:
Accessing and configuring your router at 192.168.1.1 is essential for managing your network settings and ensuring a secure WiFi environment. By following these steps, you can take control of your router’s settings, customize the IP address, and protect your WiFi network from unauthorized access and potential security threats.