How To Setup TP-Link Extender?
If you’ve encountered WiFi dead zones in your home where the wireless coverage is weak, a range extender can be a cost-effective solution to enhance your network without investing in a new router. TP-Link range extenders are known for their reliability and performance. Setting up a TP-Link Range Extender is a straightforward process that can significantly improve your WiFi coverage. In this guide, we’ll walk you through the steps to set up and relocate a TP-Link Range Extender to eliminate dead zones. Please ensure your router is powered on and functioning before you begin.
Contents
Setting Up Your TP-Link Range Extender: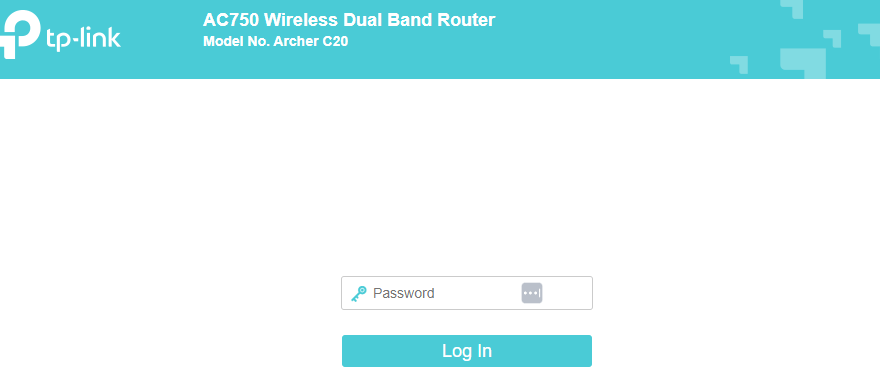
-
Power Up the Extender:
- Plug your TP-Link Range Extender into a power source and wait for it to power on. It’s essential to position the extender near your router during the setup process. This might take a few minutes, so please be patient.
- Connect Your PC:
- Once the extender’s lights become solid, connect your computer to the extender’s default network. You can find the default SSID on a label at the back of the extender, typically named “TP-Link_Extender.”
- Access the Management Page:
- Open your web browser and visit the Range Extender management page: http://tplinkrepeater.net/. You can access this page only when your computer is connected to the default network.
- Create a Login Password:
- You’ll be prompted to create a login password for the router management page. Enter a password of your choice.
- Quick Setup:
- Once logged in, navigate to the “Quick Setup” tab.
- Connect to the Router’s WiFi:
- Locate the original WiFi SSID, enter the WiFi password, and connect the Range Extender to the router’s WiFi network. If you have a dual-band router, you’ll need to repeat this process for both the 2.4 GHz and 5 GHz bands.
- Confirmation:
- After entering the host network password, you’ll need to confirm the setup.
- Configure Extended Network:
- Set up the extended network settings, including the Extended Network SSID and Password.
- Connect to the Extended Network:
- Connect your computer to the extended WiFi network.
- Finalize the Setup:
- Click “I have connected to the extended network” and then select “Finish.”
Relocating Your Range Extender:
Once your TP-Link Range Extender is set up, you may need to relocate it for optimal performance. Here are some key factors to consider when moving your extender:
- The Range Extender should be positioned near your router to receive a strong signal.
- Place the Range Extender between the router and the area with weak coverage to ensure better signal transmission.
- Check the signal light on the extender. A green light indicates that the extender’s placement is suitable, while a red light suggests weak signals from the original router, necessitating a closer relocation.
Conclusion:
TP-Link Range Extenders are an excellent solution for expanding your WiFi coverage, eliminating dead zones, and enhancing your wireless network’s performance. By following these simple setup instructions and making informed decisions when relocating your extender, you can enjoy a seamless and robust WiFi experience throughout your home.

About Author
Viransh
HI, Iam Viransh Blogger, Internet service Provider and Worked with Many routers while providing internet service, which include Tp-link, D-link,Netgear and all Mojor router.